![Ten Tentacles [dot] Com](http://tententacles.com/wp-content/MyHeaderImg/MyHeaderImg.php)

This past Secret Monday saw the Knights of Mercy knee deep in Lairs once more. This time, after our trouncing by the Motherpod in the Kingsmouth Town Lair, we decided to try the Lairs in Savage Coast and Scorched Desert. While giggles and laughs were had by all, we were once again stymied by the third quest in each Lair leading us to think that we must be missing something obvious.
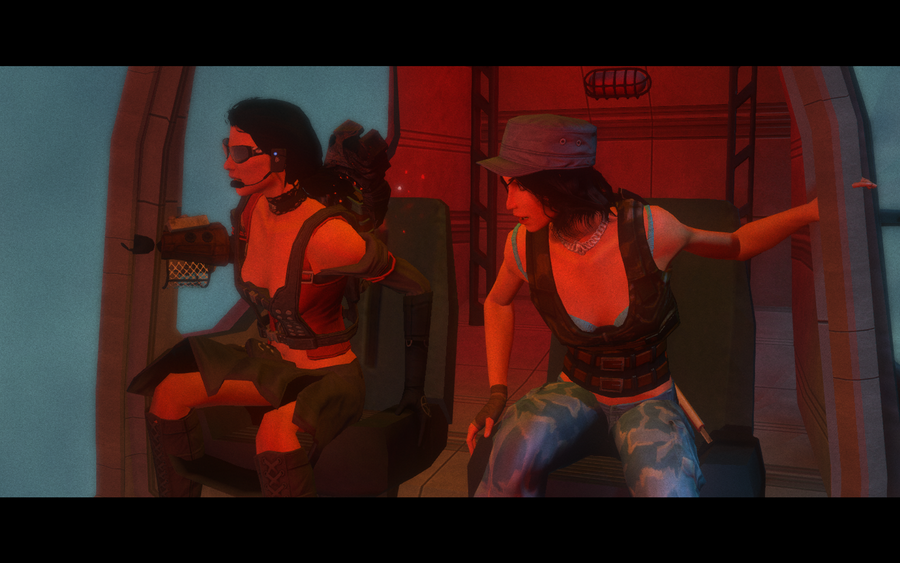
Before I launch into all that, I wanted to toss up the obligatory chopper shot, with a quite immodest Solaris (Mark, knees!), from Polaris. Last TORsday, at the end of the night, a few of us jumped from SWtOR to TSW to run JayeDub through normal Polaris and Hell Rising. He’s not as far along the dungeon progression as most of the rest of us are, and we’re helping him get caught up. Plus, those two dungeons are just fun on the bun.
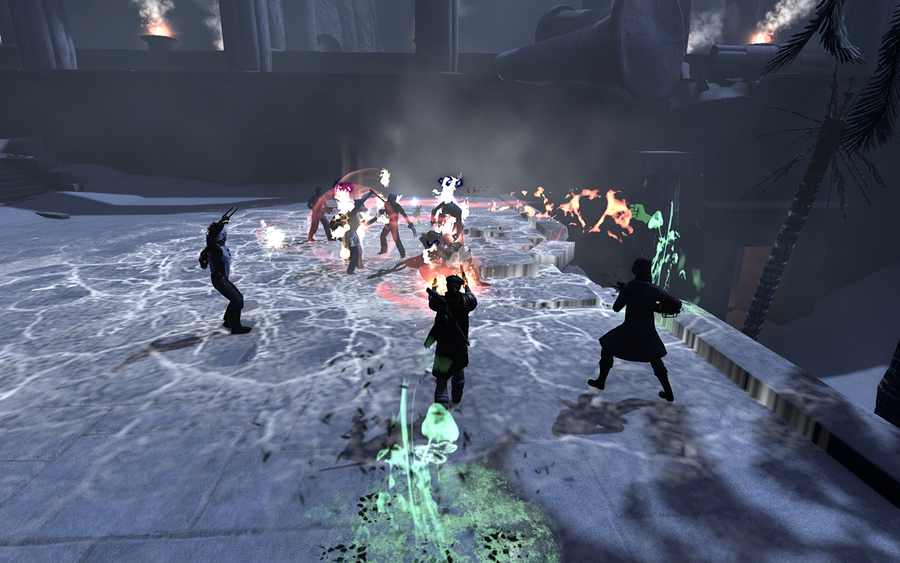
Back to the Lairs … We have run three of them now: Kingsmouth, Savage Coast, and Scorched Desert. In all three, thus far, the first two quests have given us little to no problems. Admittedly, the hateful glancing mechanic in Kingsmouth is a pain, but nothing we couldn’t overcome. The problems start when we unlock the third quest and attempt that one. We didn’t retry the fight against the Motherpod in Kingmouth, though I think when we do we’ll try it with two tanks. The Savage Coast fight, in the Spring, didn’t go any better though (despite trying that one with two tanks). We ended the night by finishing up the first two quests in the Scorched Desert Lair, and calling it a night without attempting the third quest.
Like MMOGamerChick, I have this sinking feeling we’re missing something obvious, and like her, the lack of any useful information out on the intertubes about the Lairs and their mechanics makes me think it’s something other folks aren’t having problems with. But, the Knights of Mercy will soldier on. If it’s one thing that The Secret World is awesome at is challenging you in ways you might not expect. We’ll keep throwing bodies at this thing until we figure it out.
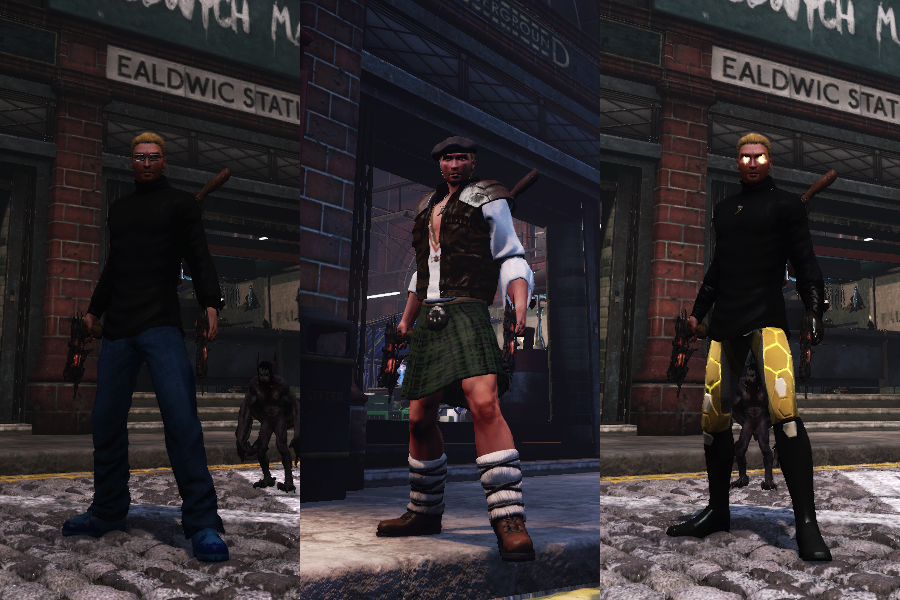
In an attempt to assuage our streak of getting our asses handed to us last night, there were several costume changes (hey, clothes matter). For What Chucho Wore I give you, from left to right, The Steve, They’ll Never Take Our Fritos, and The Bee’s Knees. I thought for sure the kilt would turn our luck around …
As you said you looked for guides and found none, some pointers on the two last lair missions.
For the third mission at the Kingsmouth lair, you indeed might want to run a second tank and assign zones they have to guard. I am not 100% sure on how things connect, but i remember:
– under some conditions a very strong AoE damage over time effect is placed around the motherpod. I think this happens if players directly attack it, but am not sure about that any more.
– feeders get close to it, and as far as i remember, then heal it for a lot. I also vaguely remember that this also might trigger the AoE DOT, but am not completely certain.
In pure theory, all you have to do is to intercept all feeders, as the motherpod has a “starving” debuff on itself, which damages it continuously. Though, as this starving takes a while, you can speed it up. You got a toxic barrel for completing the second mission of the lair. (As you can not pick up the third mission before completing the second mission at least once, you are sure to have it. ) Go next to the motherpod, use the barrel. Now the toxic effect of the barrel damages the motherpod till the barrel vanishes. If you keep an eye on the barrels, as they despawn after a while, and make sure that everybody who’s not busy intercepting stuff at the moment keeps his/her barrel active.
This speeds up the motherpods death a lot. Additional info on the fight: while the old-school approach is to do it with two tanks, it can also well be done with only one tank, as long as one or two ranged DDs cover the flanks to intercept feeders. After all, a feeder only runs towards the motherpod as long as not attacked, if they get hit with one or two shots, they follow the damage dealer instead. So the DD then lures the feeder to the tank to get rid of it and returns to position, moves the camera back to watch his sector and just continues his damage rotation.
It’s really all about covering about 270° area around the motherpod and intercepting all feeders, everything else is secondary.
On the last mission of the Savage Coast lair, you actually don’t fight at all. All you do is to get everybody in group to over 10k health by wearing all tanky equipment and having tanky abilities. Everybody gets assigned one of the bomb spots. (As far as i remember, there are 6 sticks of dynamite to be placed, but two spots are close to each other, so one person has to cover those two. ) Then the one covering two spots places the first explosive. While he places it, the rest also starts placing their bombs, the one with two has to go the high risk, move to the second spot and place again. As the mobs in there can pull people around, it can be adviseable that a second one also moves for the bomb spot and places it, in case the first one is intercepted.
When all 6 bombs are placed, everybody runs out, don’t tank, don’t fight, just run. The mobs will follow you, they do not disarm the dynamite, so as long as you make it out and stay alive till you blew up the cave, you are successful.
Sweet! Thanks for the advice. Placing all the dynamite at once was a thought if had, but I dismissed it as I didn’t think everyone would live through it. I always forget anyone can put on tank gear, we’ll have to give this a try. We haven’t attempted the mother pod again yet, but I think we’ll go the two tank and ranges DDs when we do. 🙂
@Sylow, thanks for the great advice. We were placing the toxic barrels at the pod, but the individuals placing them had a tendency to die from the effects themselves. The key we were missing was the tanking of the feeders, thinking they would get caught by the toxic barrels, too.